
architectural Visualisation
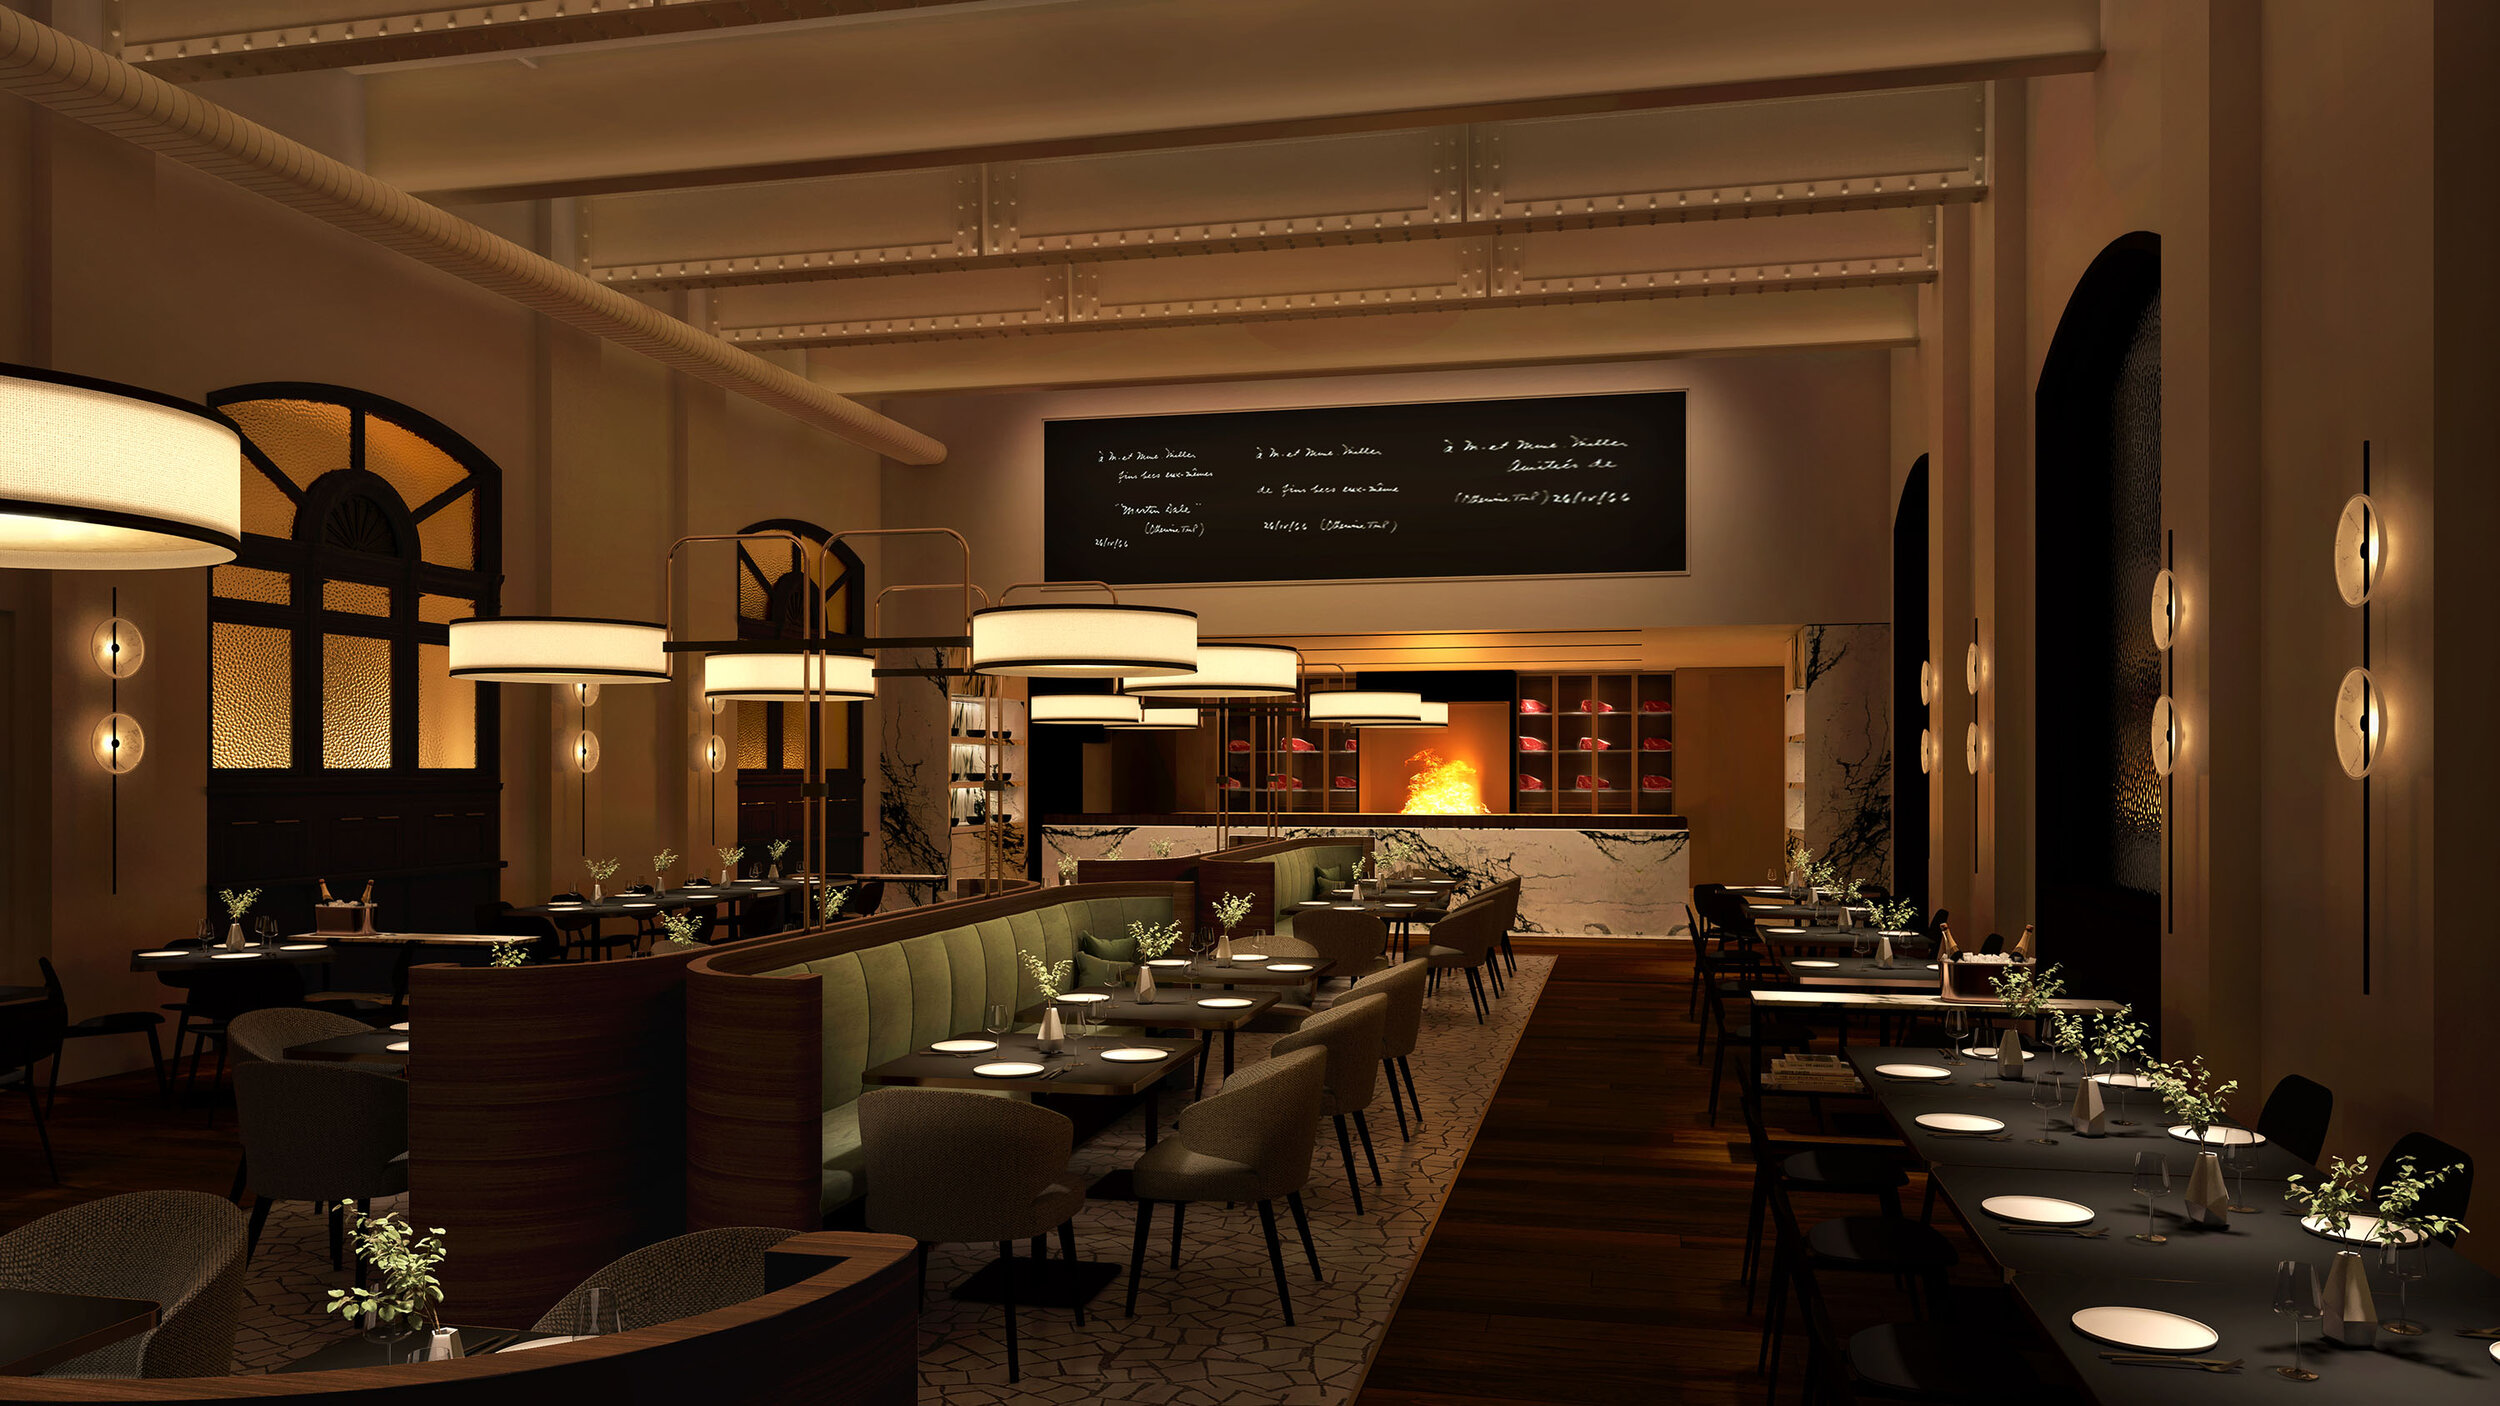
Visualisation is the art of bringing unbuilt designs to life through the use of technology. At its best it is storytelling, the most engaging and compelling images are able to tell a story and allow the viewer to place themselves in the scene. We believe the design should frame these stories as this is how we experience them in reality, when the built form forms frame the way we live. Although visualisation is something embedded in our design workflow we love to work with other architects, interior designers and developers to help them communicate the design intent of their own projects. Below we’ve tried to outline a typical process for a project commissioned by a client.
Process
Every project is unique in it’s procurement, process and outputs but we’ve tried to outline the key stages that generally need to take place in order to go from an idea to a finalised representation. The ambition for the outcome also can vary from loose sketchy images that don’t commit to much detail or hyper realistic renderings.
Brief
Initially the project starts with a brief from the client, ideally as detailed as possible so that a good understanding of the project is possible and the desire outcomes are clear. This can then be quoted for and once agreed, the project can start in earnest. A brief generally should include as many of the following:
Design concept
A clear description of what the images need to achieve and how they will be used along with any concepts that are driving the project that need to be emphasised or reinforced in the images. This helps us understand the wider context of the story that needs to be told and can lead to much more engaging images. Any design material that has been produced for the architectural or interior proposal that exists will also help provide a broader understanding of the project.
Site Photos & Drawings
The more photos the better. These can help for gaining an understanding of the setting but also as reference for materials landscape etc. All available architectural drawings, preferably in PDF and DWG format.
3d Model
We can work with most CAD platforms so will be able to recommend the best format for files to be exported or saved as.
Materials
Specification for any materials used in the project with reference images ideally
Views
Any preferences on views of the scene or areas that need to be captured. These are best conveyed in draft renders or screen grabs from the 3D model, but plotted on a floor plan is also fine. A common mistake made with these is using super wide angle views to capture an entire scene from one view. This kind of image tends to lose impact by being too distracting or distorted to tell a story. If we understand the message that’s important then we love to suggest the best way to capture this in the scene.
Project Setup
Once we have all the information to get started we will take some time to set up the project and the scene in 3D. Depending on the material available this will either consist of importing an existing model or modelling the scene from scratch. The latter can be quite time consuming depending on the size of the model or extents of the scene but the former can also take some time as imported geometry can take time to organise or re-model depending on the quality of the original model. We will publish some guidelines on how best to set these models up in order to minimise the set up time so more can be spent on the latter stages of the process.
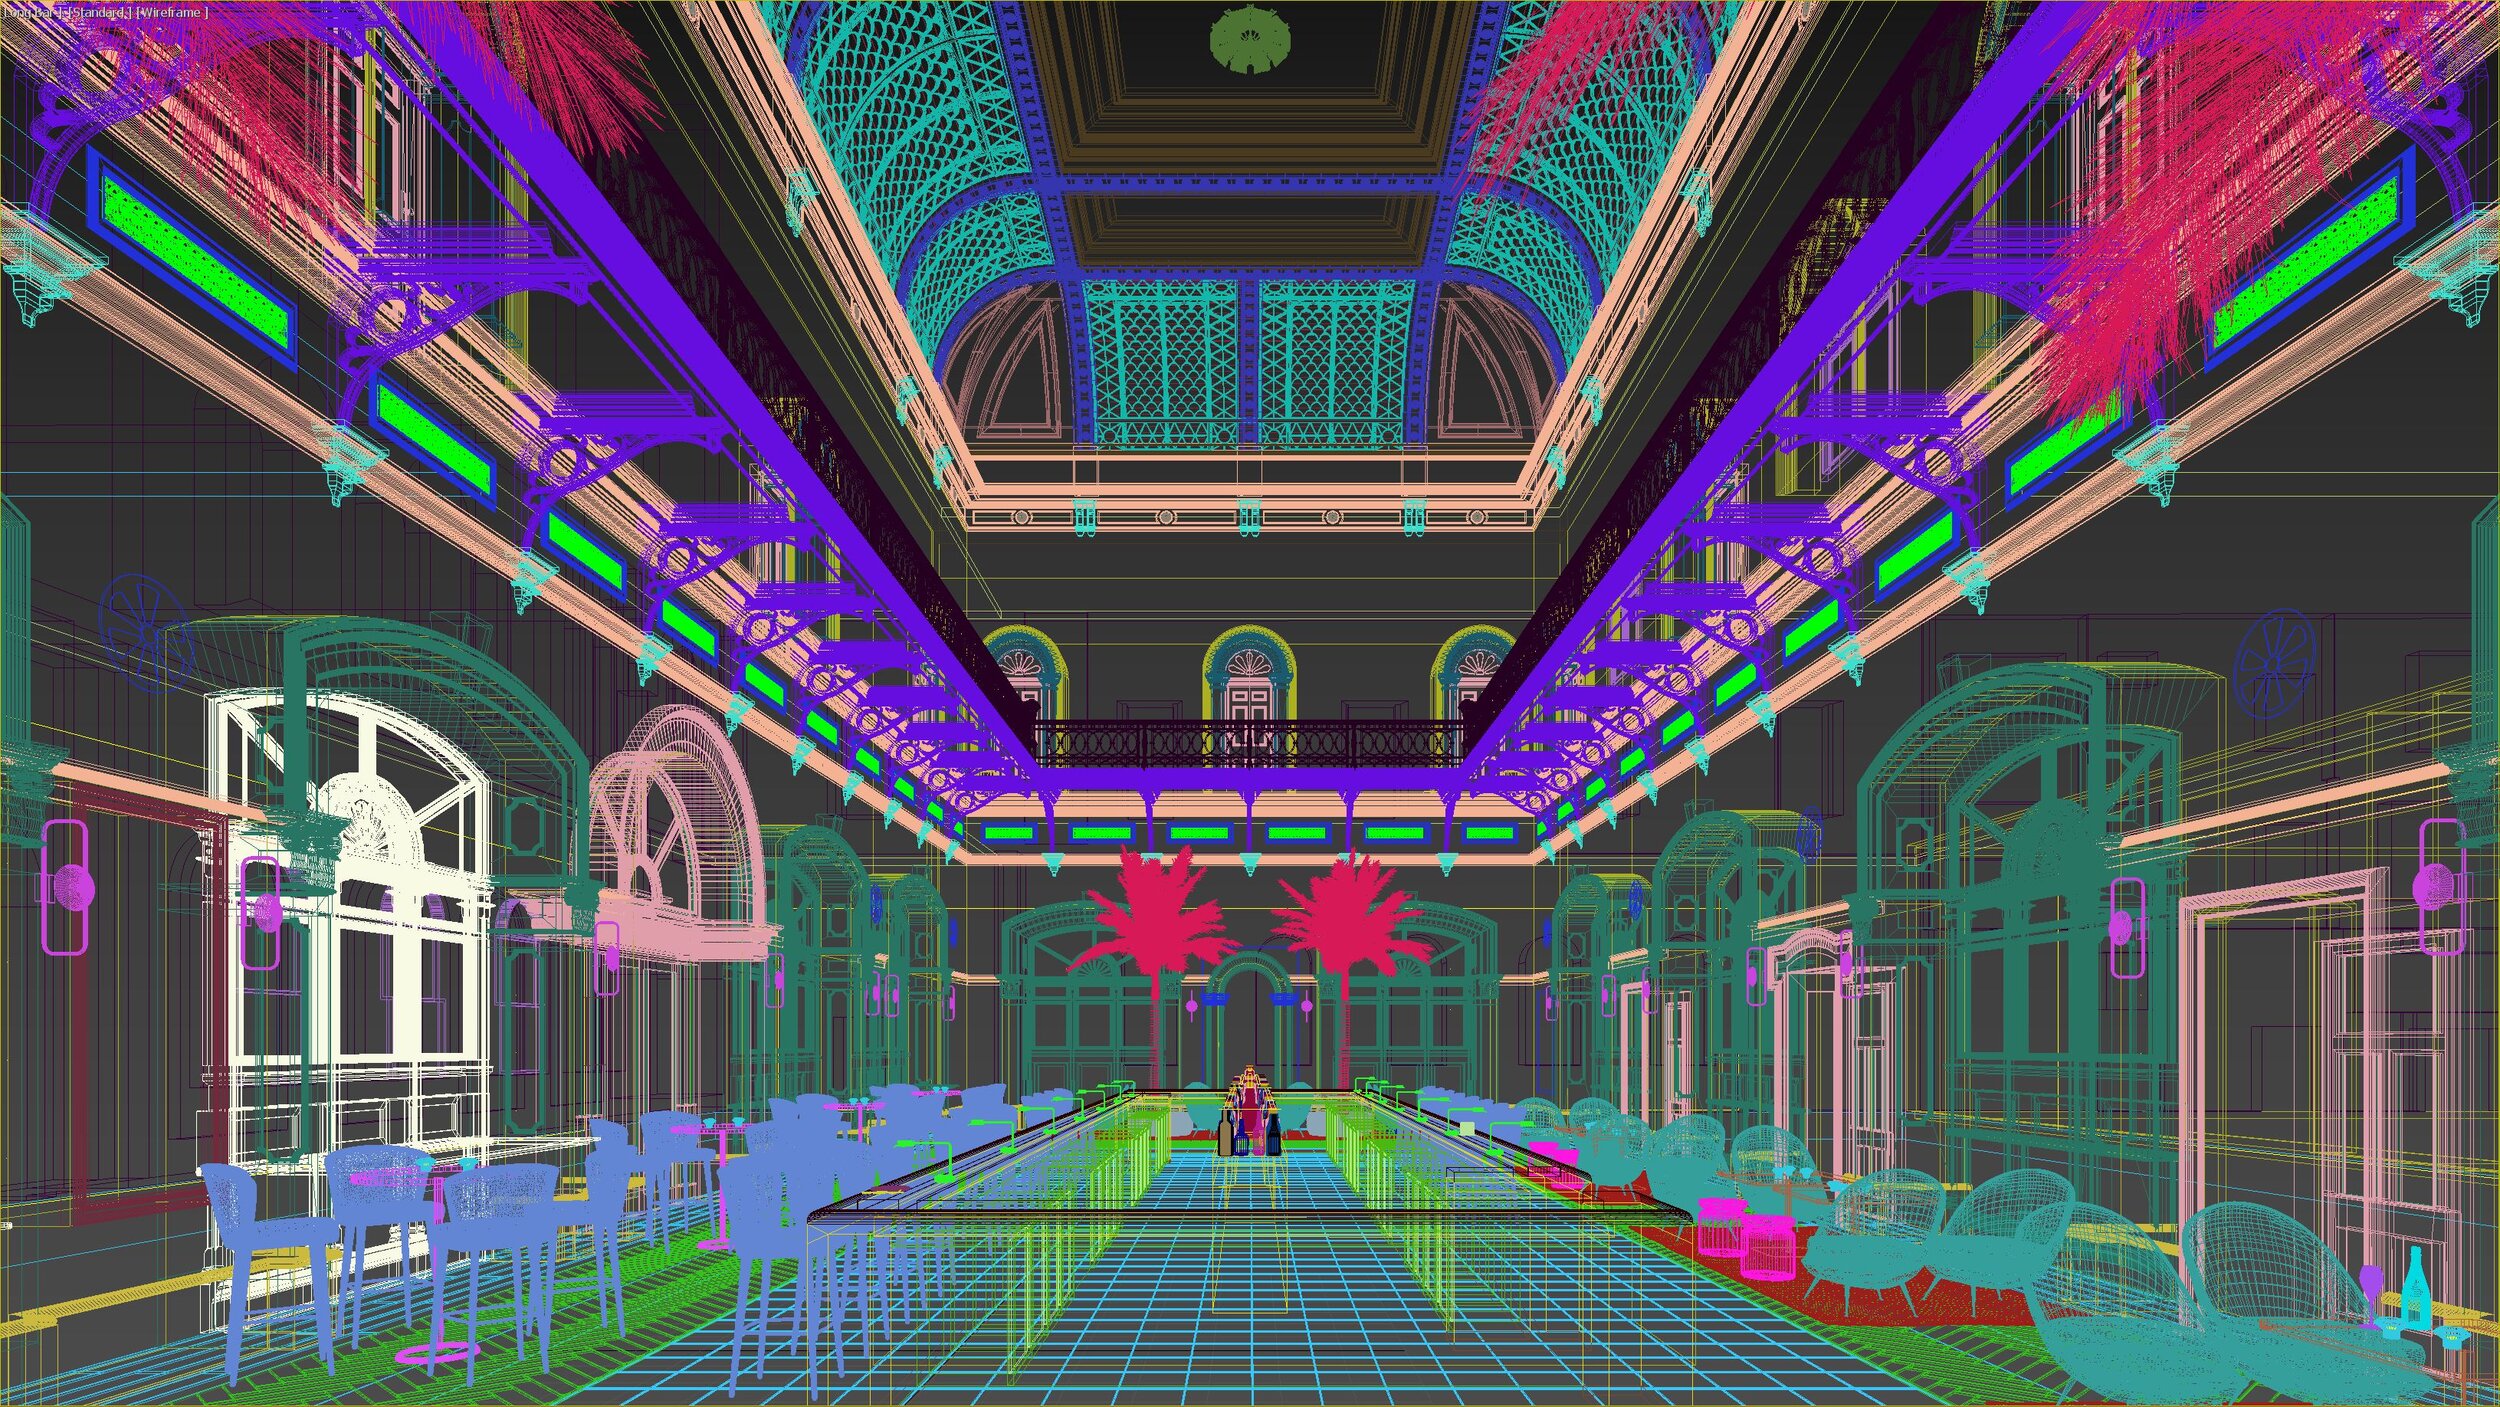

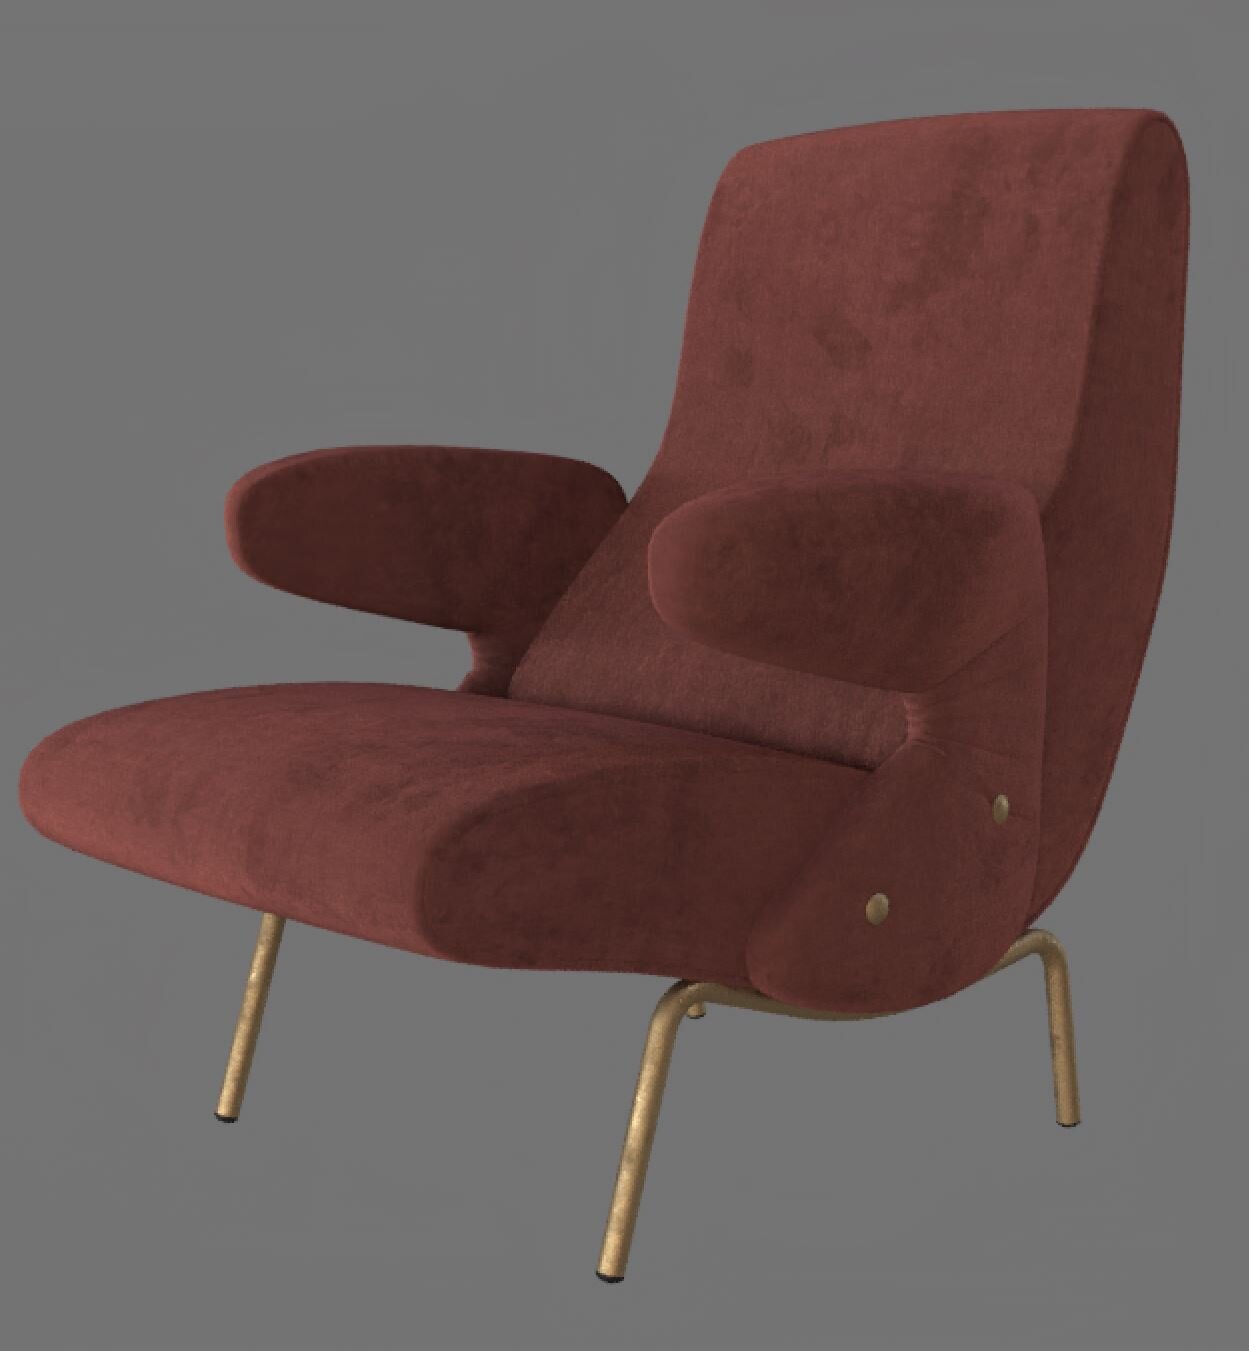
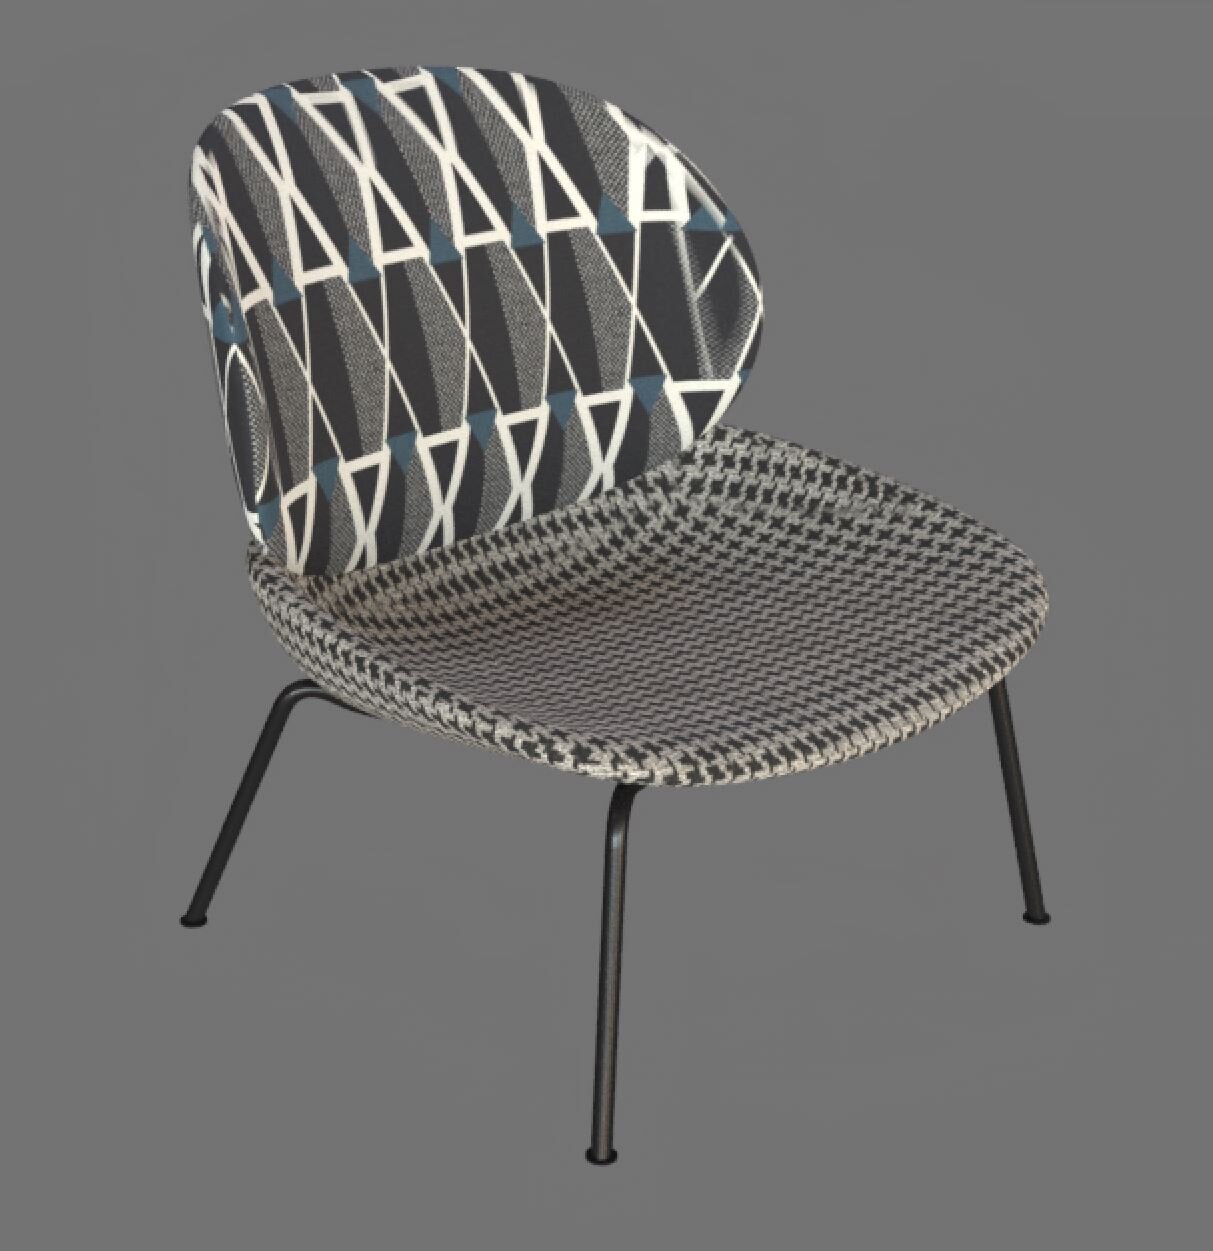
Modelling
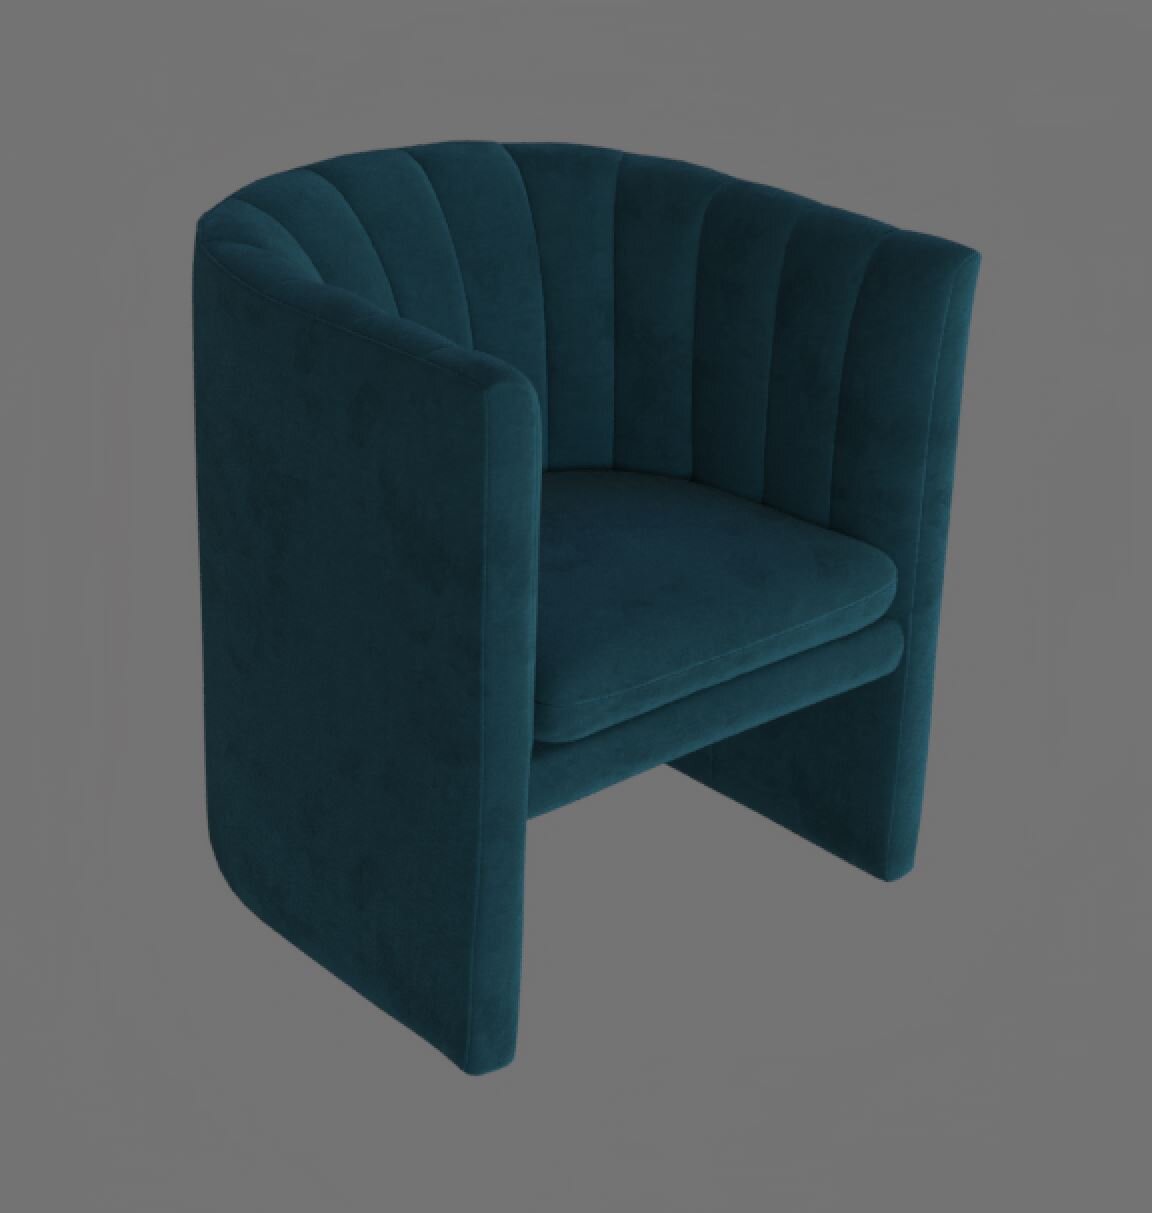
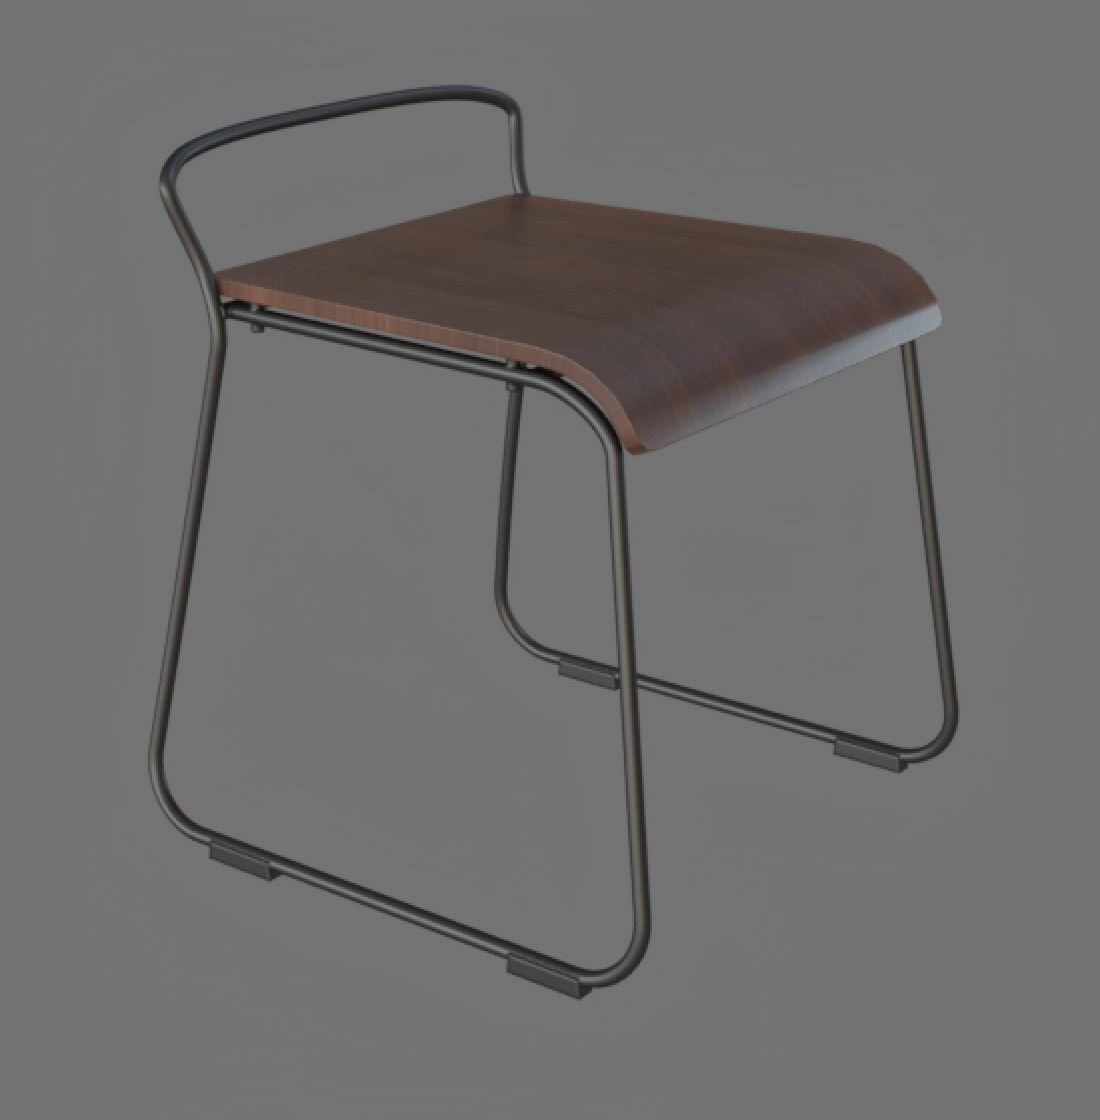
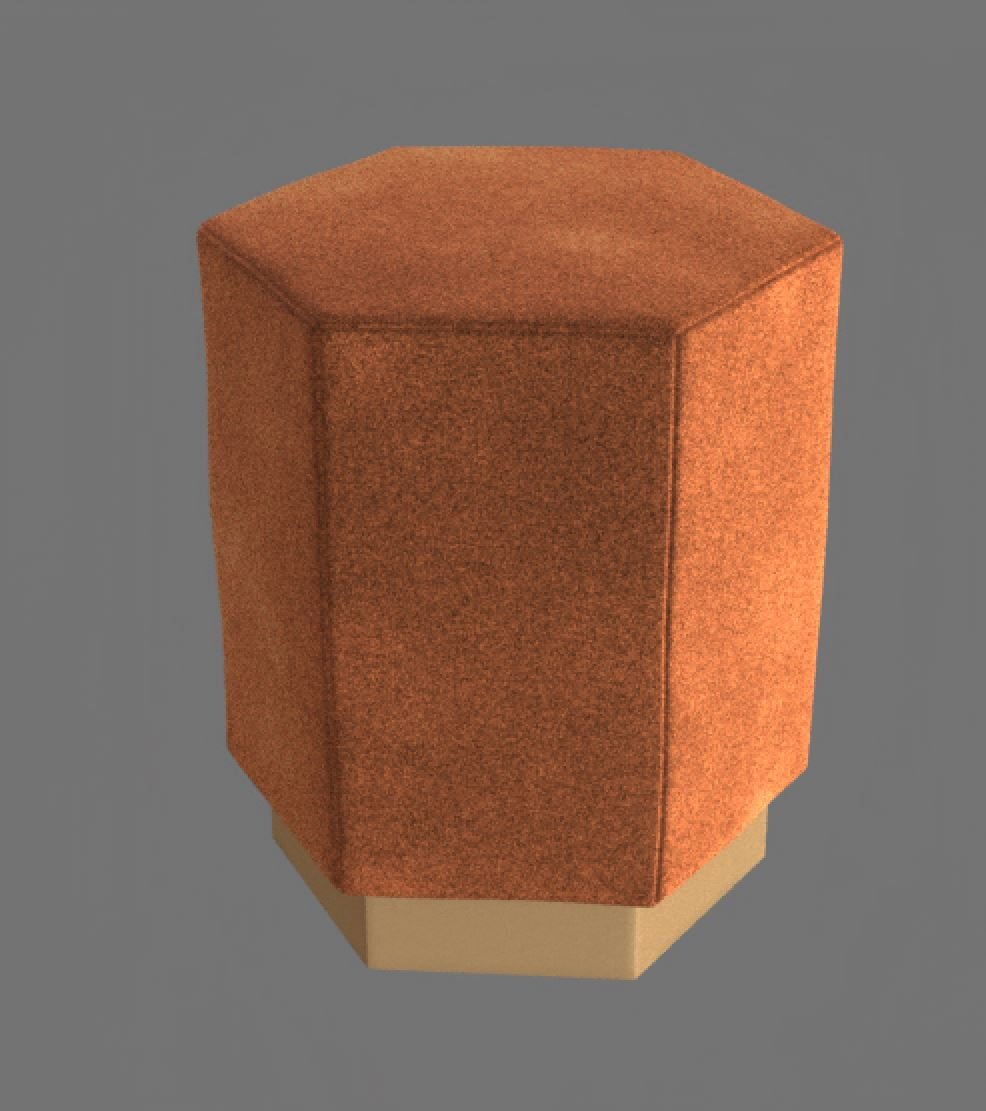
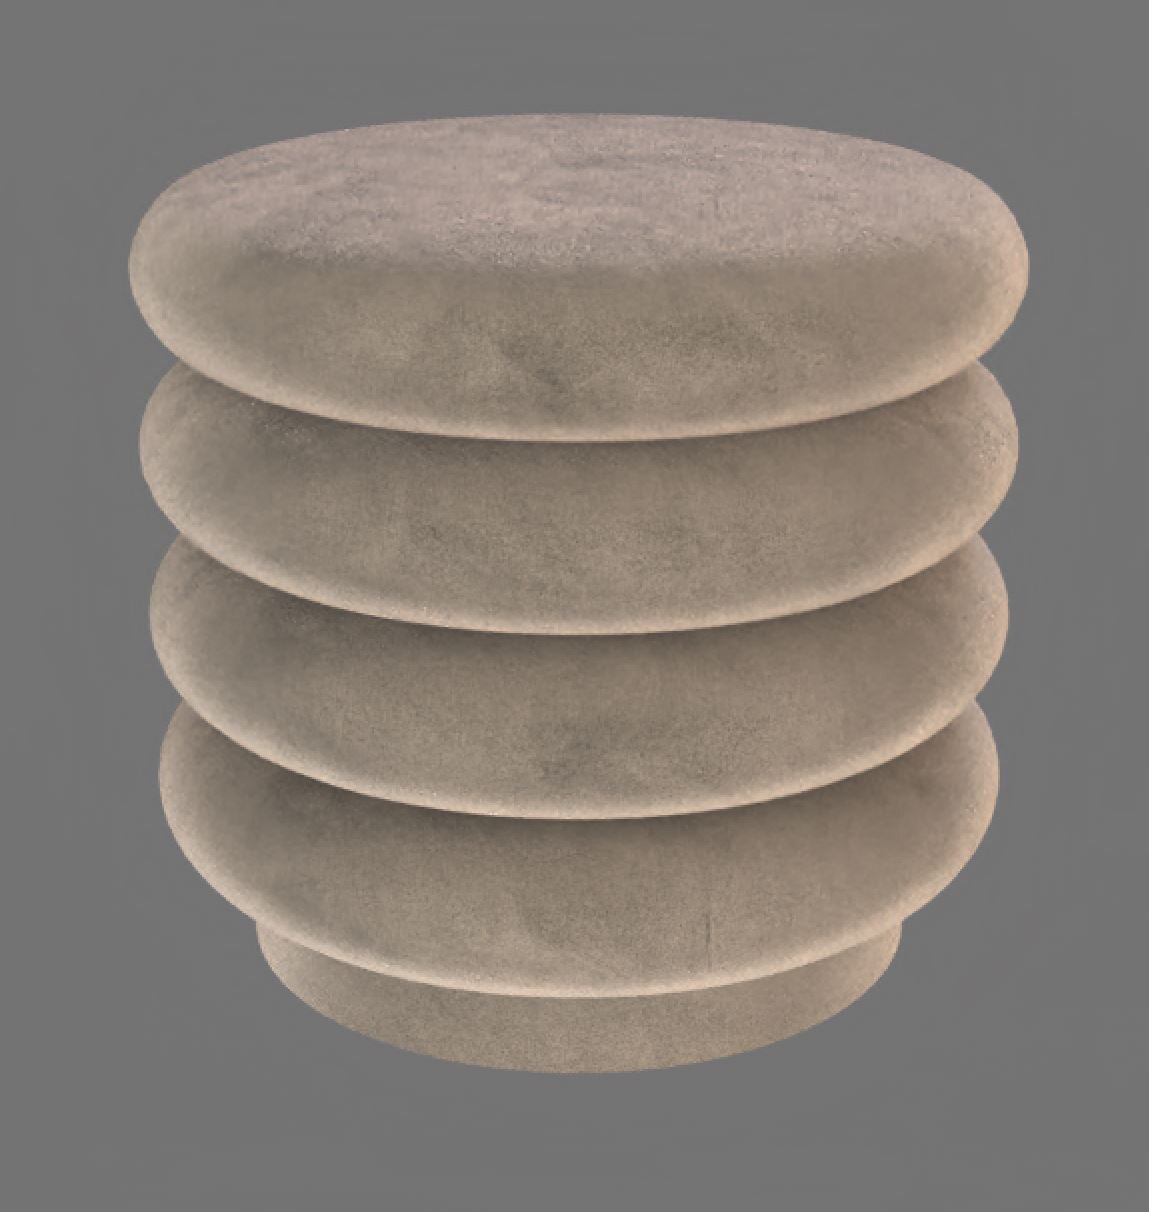
We are able to model anything that is required for a scene but depending on the requirements this will impact the time and cost of the project. The most time consuming element is often the furnishings. Where possible we will source 3D models from manufacturer websites but where these are not available or are poor quality we will produce furnishing and styling elements in house. This is great for clients who have a very clear specification schedule for elements in a scene and want to see how everything will look on completion.
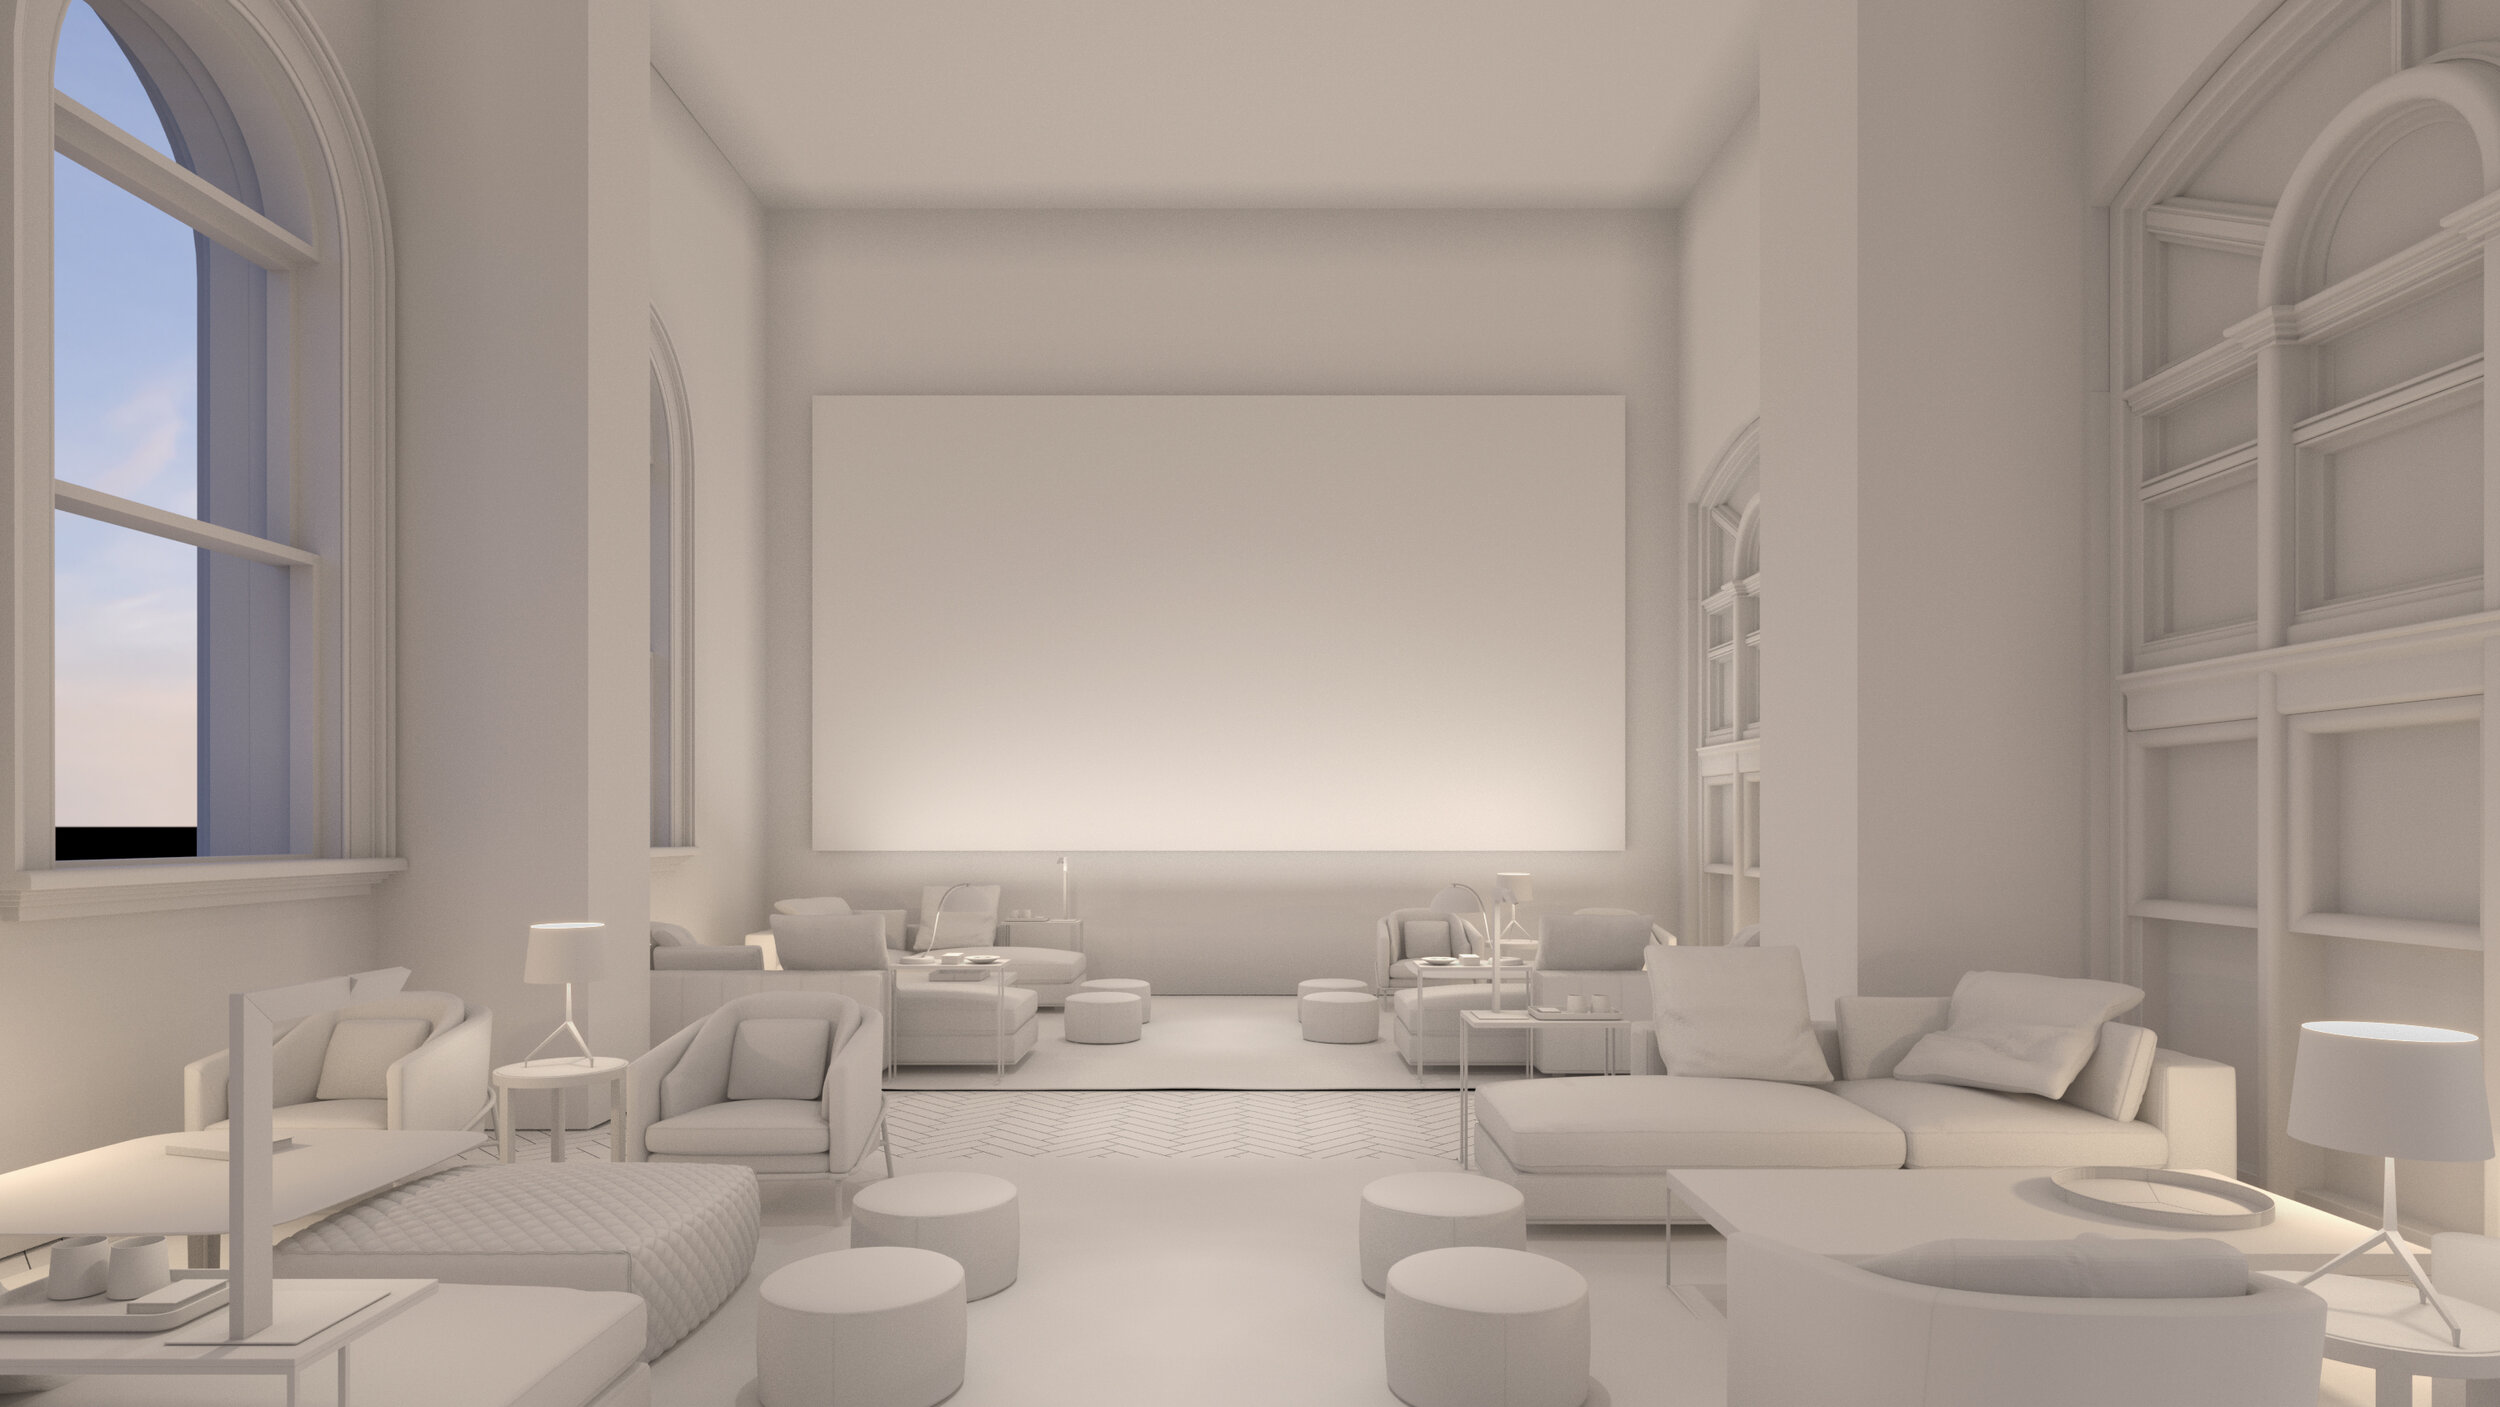
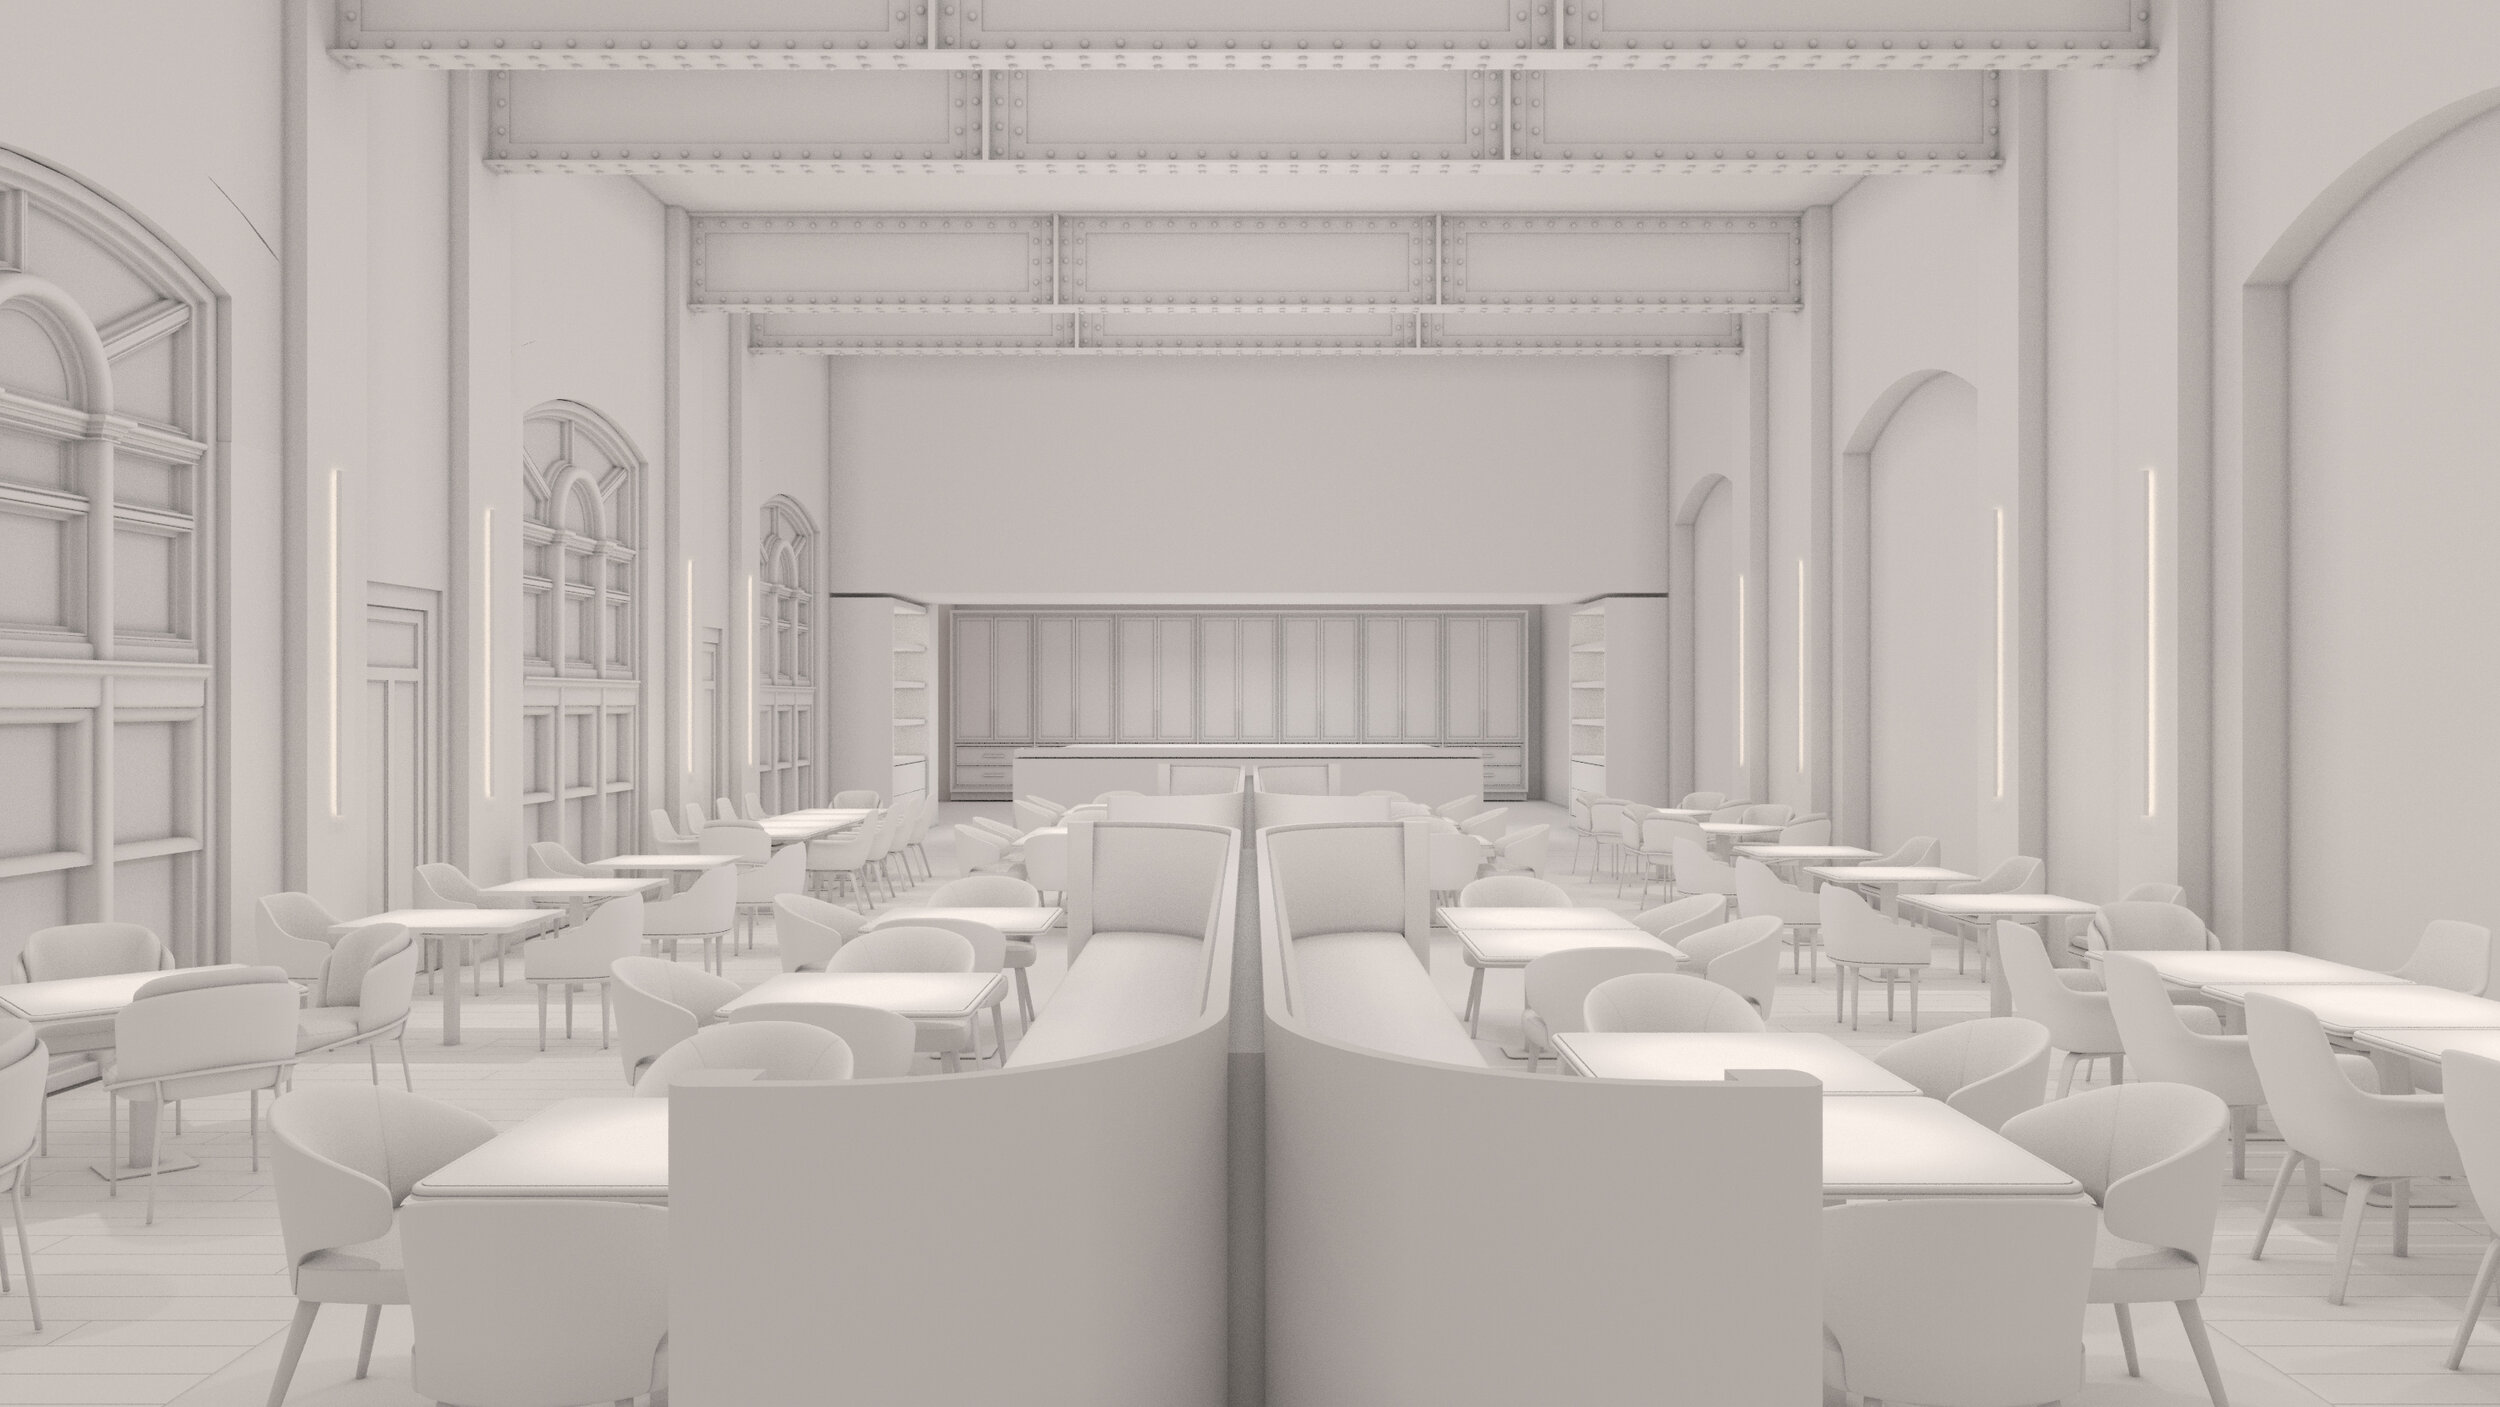
White Card
This is often the first draft of the images that we produce. Once the model is set up we will establish some basic lighting in order to show the model and begin working on composition. We use this to generate a number of options for the cameras (views) in the scene to give the client opportunity to see some alternative suggestions to any suggested views. This is the first opportunity for clients to give feedback on the model and views. Although we aim to maintain as much flexibility throughout the process, once the final views are selected these should be considered final for the duration of the process as work will be focused on what is seen in these views. The exception to this is for Virtual Reality projects or animations where the scene needs to be completely resolved as any angle may be viewed. These projects, as a result, require more time for development.

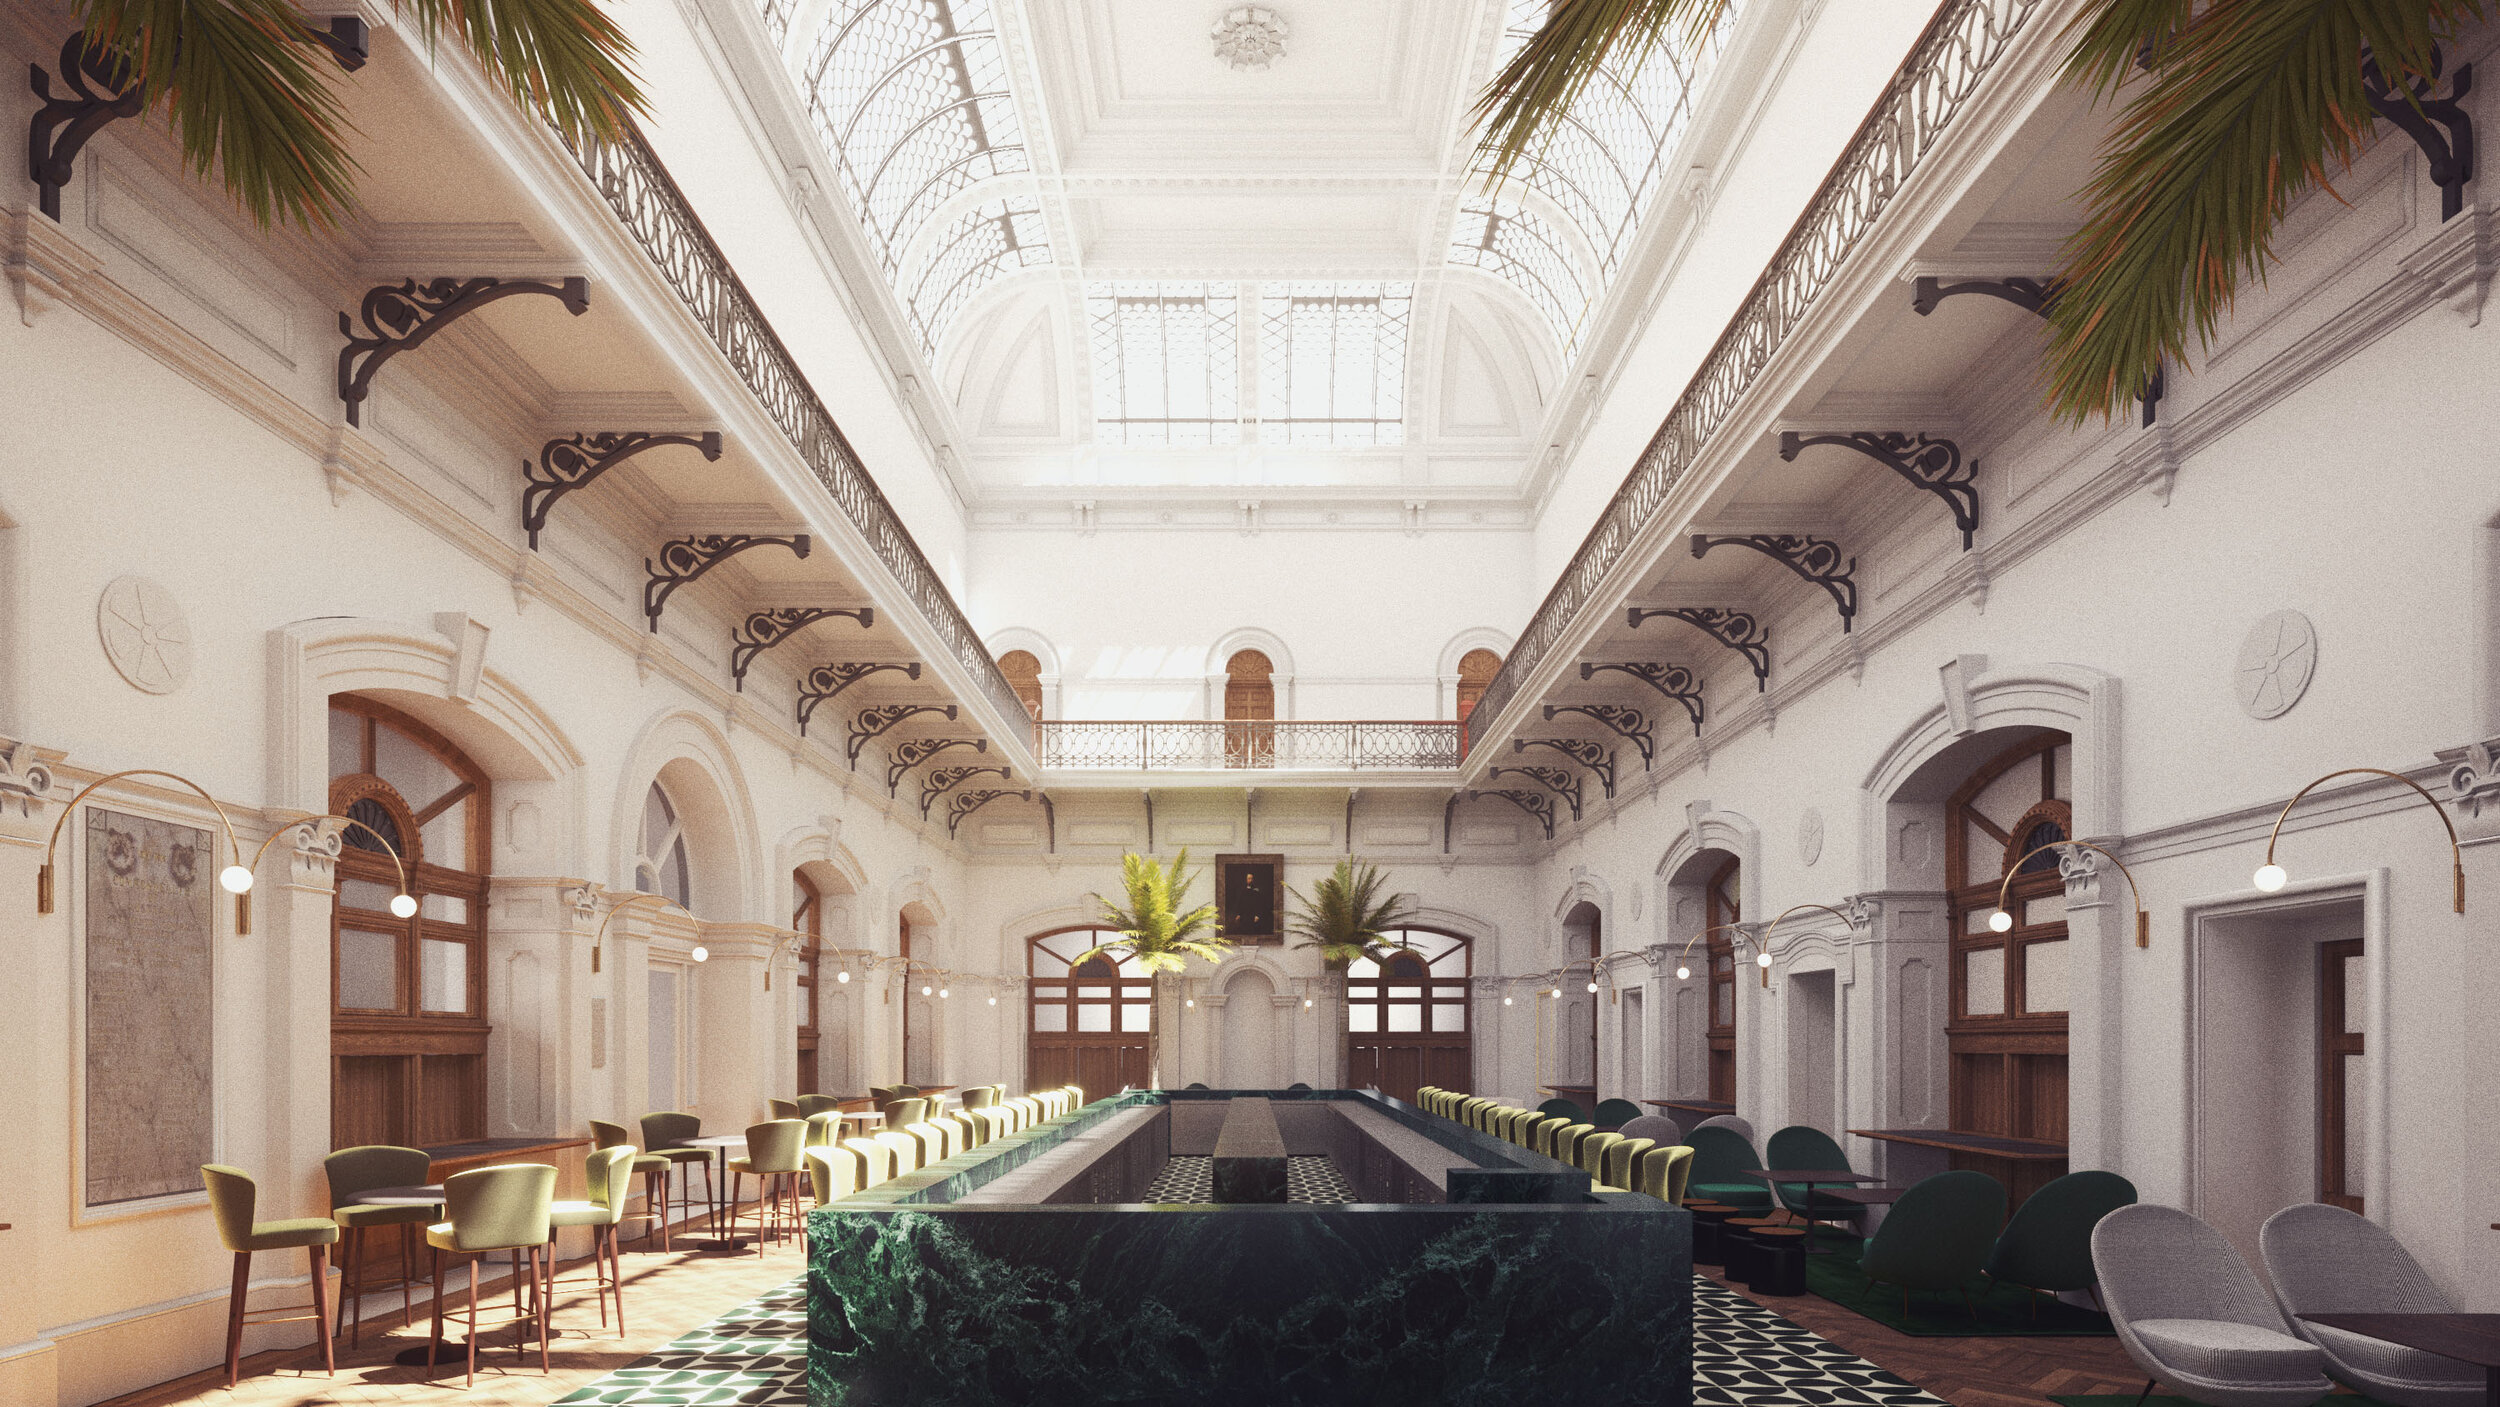
First Preview
Once all feedback has been consolidated we will make any required amendments to the model and cameras. We will then begin texturing and populating the scene in order to get the image as close to the final result as possible. This is then the second and final major opportunity for the client to give feedback on substantial changes to the model, materials and lighting.
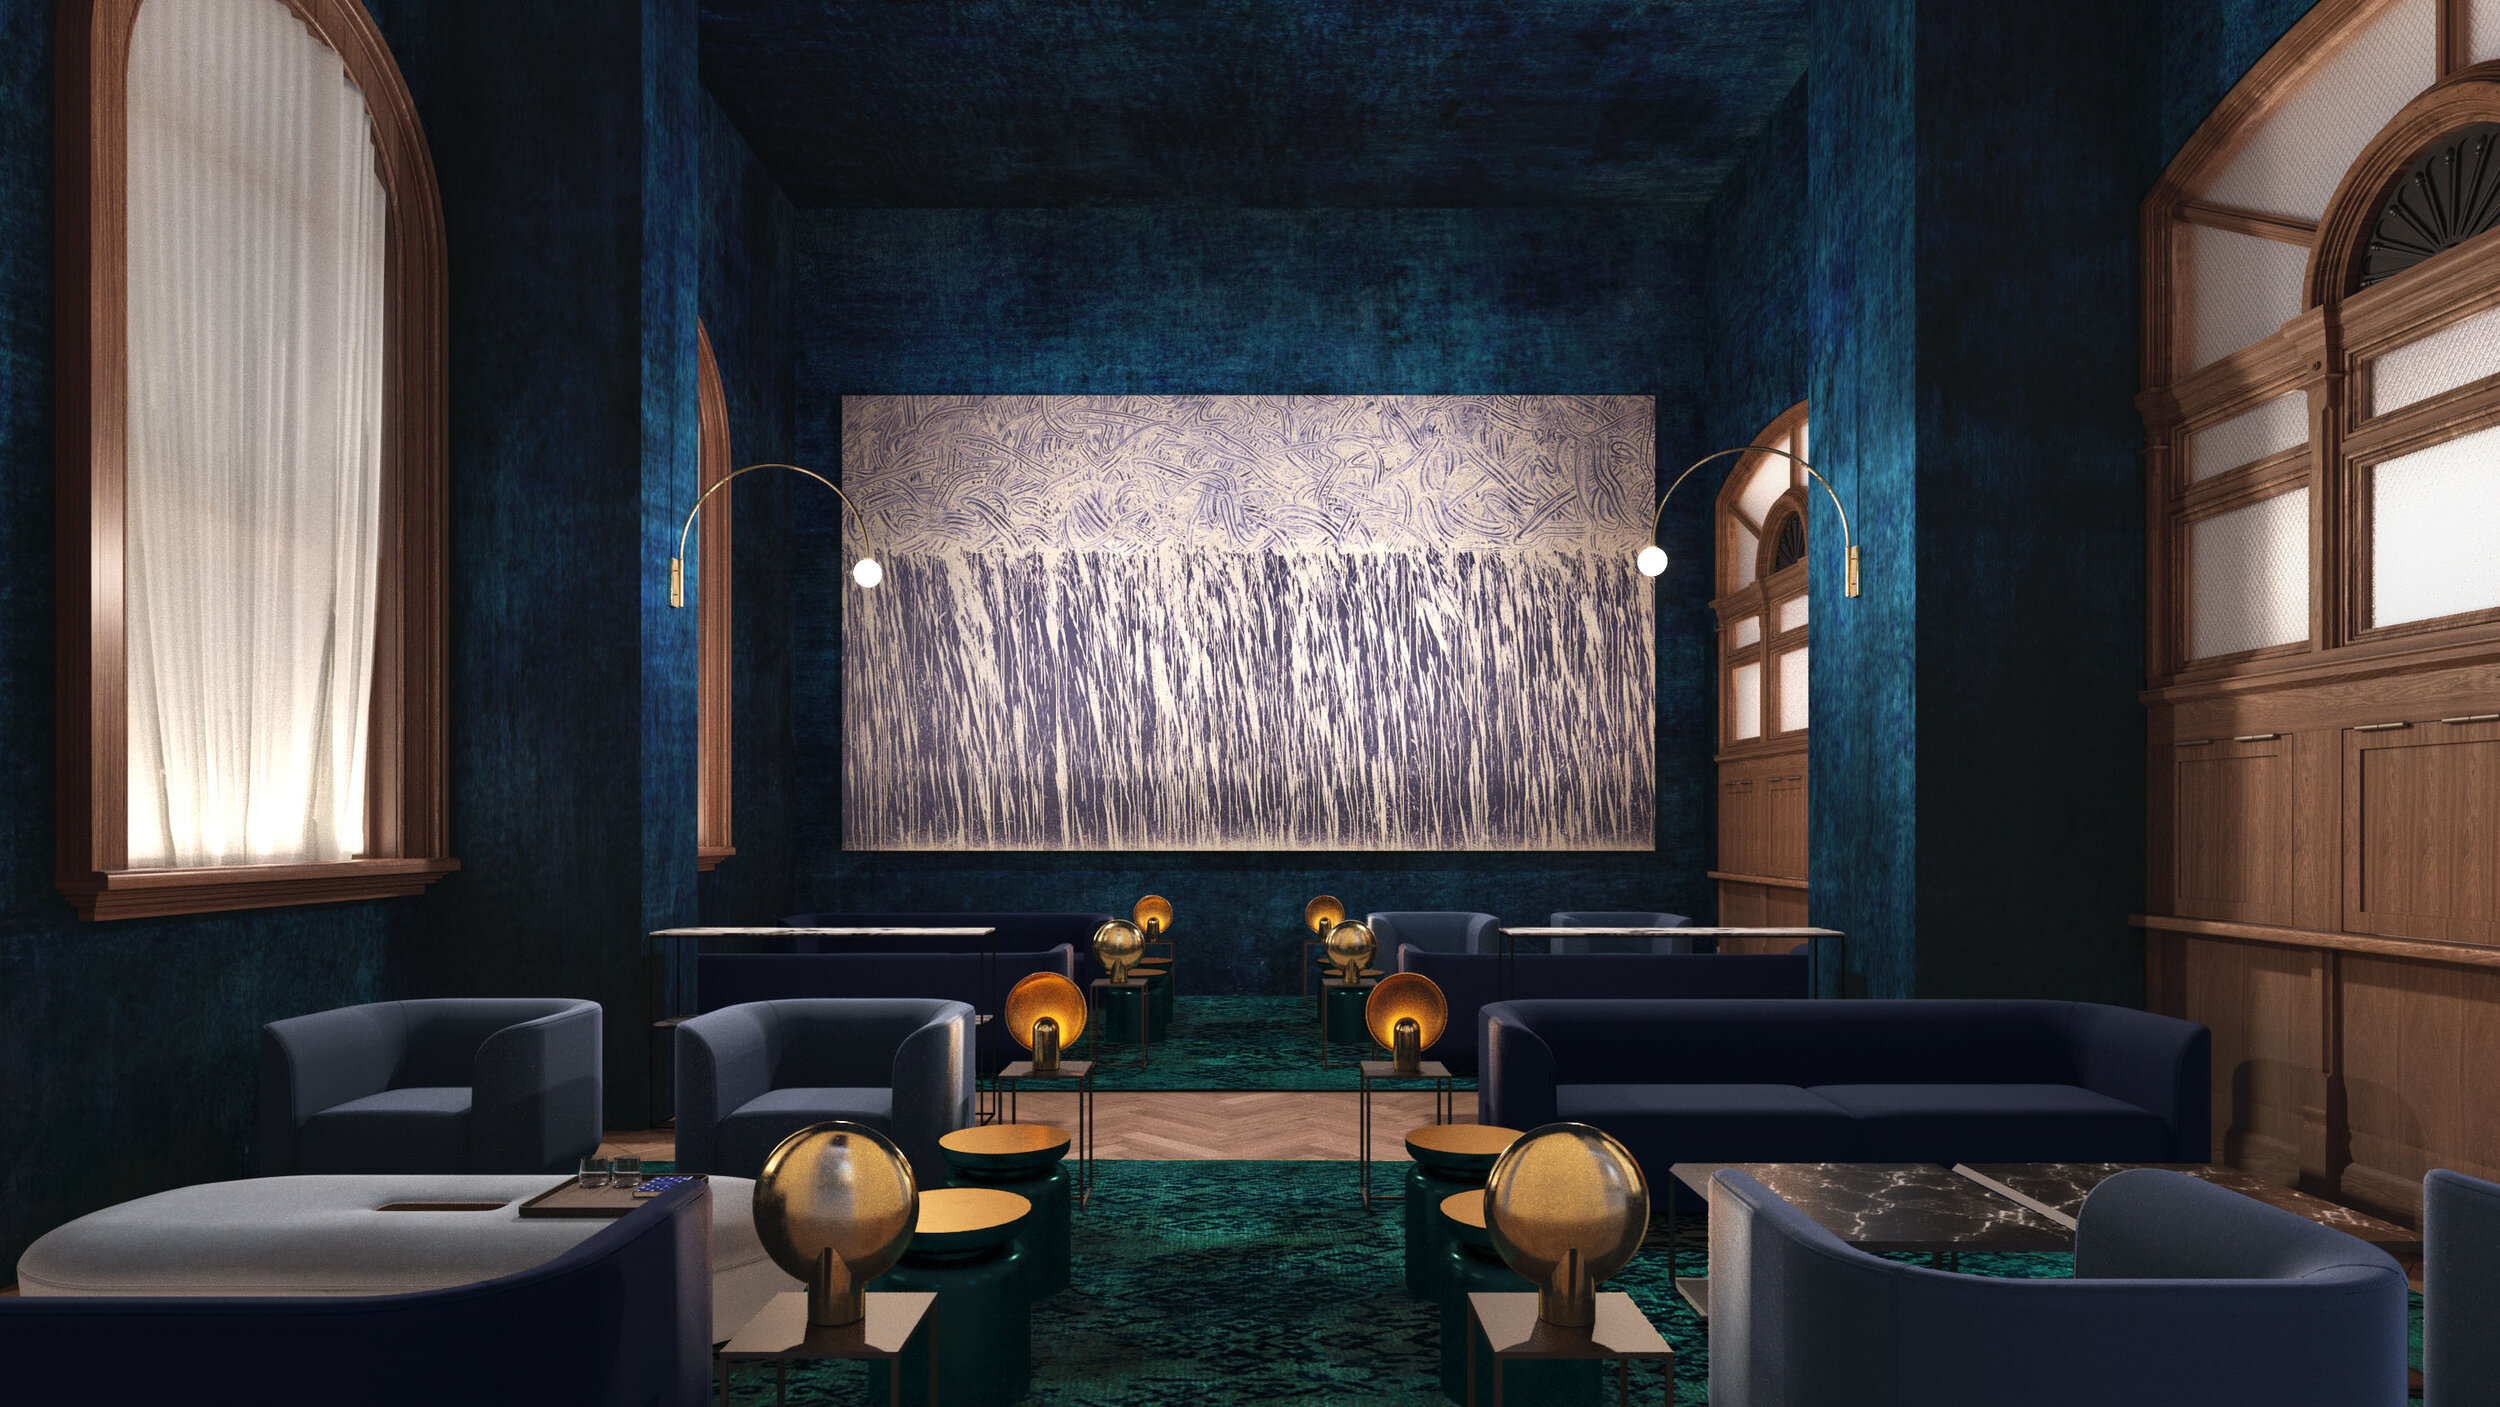
Final Preview
We will proceed to make any required changes to the scene in order to render our the final high resolution images. This is then the final opportunity for feedback from the client, however, at this point only superficial changes that can be made in post production are possible within the original quote price. If additional changes that require re-rendering of the image, these will be charged as an additional fee.